Every fall, the same thing happens across HVAC companies everywhere. The calls start coming in, schedules fill up fast, and technicians are running from job to job before the season has fully settled in. In that environment, corners get cut. Not intentionally. Just inevitably, when volume outpaces process.
That’s the problem with furnace inspection work that relies on memory and habit rather than a documented, repeatable methodology. When every technician on your team inspects a furnace differently, you don’t actually have an inspection process. You have a collection of individual approaches that may or may not catch the same things, in the same order, with the same reliability.
Building a repeatable inspection process before heating season starts is one of the highest-leverage things an HVAC business owner or lead technician can do. Here’s how to think about it — and what that process should actually include.
Why “Winging It” Costs You More Than You Think
There’s a version of experienced HVAC work that looks like intuition but is really just pattern recognition that hasn’t been formalized. A technician who has inspected hundreds of furnaces can walk into a mechanical room and pick up on something being off before they’ve even touched the equipment. That’s valuable. But it’s not a process, and it’s not transferable.
When your best technician is the only one who catches certain problems, your business has a single point of failure. When a newer technician misses something that an experienced one would have found, and that miss results in a carbon monoxide event or a callback, the liability doesn’t stay with the technician. It lands on the company.
A documented, step-by-step furnace inspection methodology solves this. It creates consistency across your team, gives newer technicians a framework to build genuine skill within, and protects your business through defensible, repeatable practices.
The Four Phases of a Solid Pre-Season Furnace Inspection
Phase 1: Controls and Safety Device Verification
Before anyone touches the furnace itself, the system needs to prove it responds correctly to basic commands. Switch the thermostat to heat mode and set it several degrees above the current room temperature to trigger a sustained test cycle rather than a quick on-off. Watch how the system responds. Does it sequence properly? Does the blower come on at the right point? Does anything shut down prematurely?
Test every carbon monoxide detector in the home as part of this phase. This isn’t optional and it isn’t the homeowner’s job to remember. A technician who builds CO detector verification into their inspection process is a technician who can look a homeowner in the eye and say the system is safe with actual confidence behind it.
Document what you find. Controls that behave normally today may not behave normally in February when the system has been running hard for three months. Your documentation is the baseline.
Phase 2: Airflow and Filter Assessment
Restricted airflow is one of the most common contributors to heat exchanger stress, and it’s one of the most easily overlooked because the filter is right there, accessible, and the temptation is to give it a quick look and move on.
Don’t do that. Hold the filter up to light. If light struggles to pass through it, replace it regardless of when it was last changed. Install the replacement with the airflow arrow pointing toward the blower, confirm the fit is snug with no bypass gaps around the edges, and note the filter type and MERV rating for the record.
Then walk the occupied space. Furniture pushed against return vents, rugs covering floor registers, closed room doors creating pressure imbalances — these are airflow problems that don’t show up in the mechanical room. They show up as heat exchanger fatigue over time. A technician who checks airflow only at the equipment and not throughout the home is missing half the picture.
Phase 3: Venting and Exhaust Inspection
This phase looks different depending on the type of system, which is precisely why it needs to be explicit in your inspection process rather than assumed.
For high-efficiency units with PVC flue exhaust, go outside and physically verify the pipe termination. Birds nest in them over summer. Leaves pile up. These aren’t hypothetical scenarios — they’re common enough that checking the exterior exhaust should be a standard line item on every pre-season inspection, not something a technician thinks to do only on certain jobs.
Inside, clear dust and debris from floor and wall registers. On high-efficiency systems, pour a small amount of water into the condensate drain pan and confirm it flows freely. A blocked condensate drain can trigger a safety lockout mid-season at exactly the wrong moment. Finding it in September is far better than troubleshooting it in January.
Phase 4: Sensory Evaluation
This is the phase that experienced technicians do instinctively and newer technicians need explicit guidance on. When the burner and blower sequence, what do you hear? Banging, squealing, or grinding that wasn’t present during the test cycle but appears once the system is under load tells you something is wrong that visual inspection alone won’t reveal.
A slight burning smell during the first run of the season is normal. It’s dust burning off surfaces that have been dormant since spring. It should dissipate within a few minutes. A smell that persists, that intensifies, or that has any chemical or gas character to it is a different situation entirely — shut the system down and investigate before anything else.
Train your technicians to trust what they hear and smell as much as what they see. Document sensory observations alongside visual findings. “System ran quietly, no unusual odor” is a legitimate and valuable part of an inspection record.
The Step Most Inspection Processes Skip Entirely
Here’s where a lot of well-intentioned inspection checklists fall short. The four phases above are solid pre-season fundamentals. But they don’t address the component that carries the most safety risk and the most liability exposure in residential furnace work: the heat exchanger itself.
A heat exchanger inspection done at a training seminar level is a different thing from a pre-season systems check. It requires familiarity with how different heat exchanger designs fail, where cracks typically initiate across different configurations, what stress fractures look like at various stages of progression, and how to document a finding in a way that protects the technician and informs the homeowner clearly.
Most HVAC technicians develop some of this knowledge over years of field experience. The problem with that approach is that the learning is uneven, the gaps are invisible until they cause a problem, and there’s no shared methodology across a team that learned informally and separately.
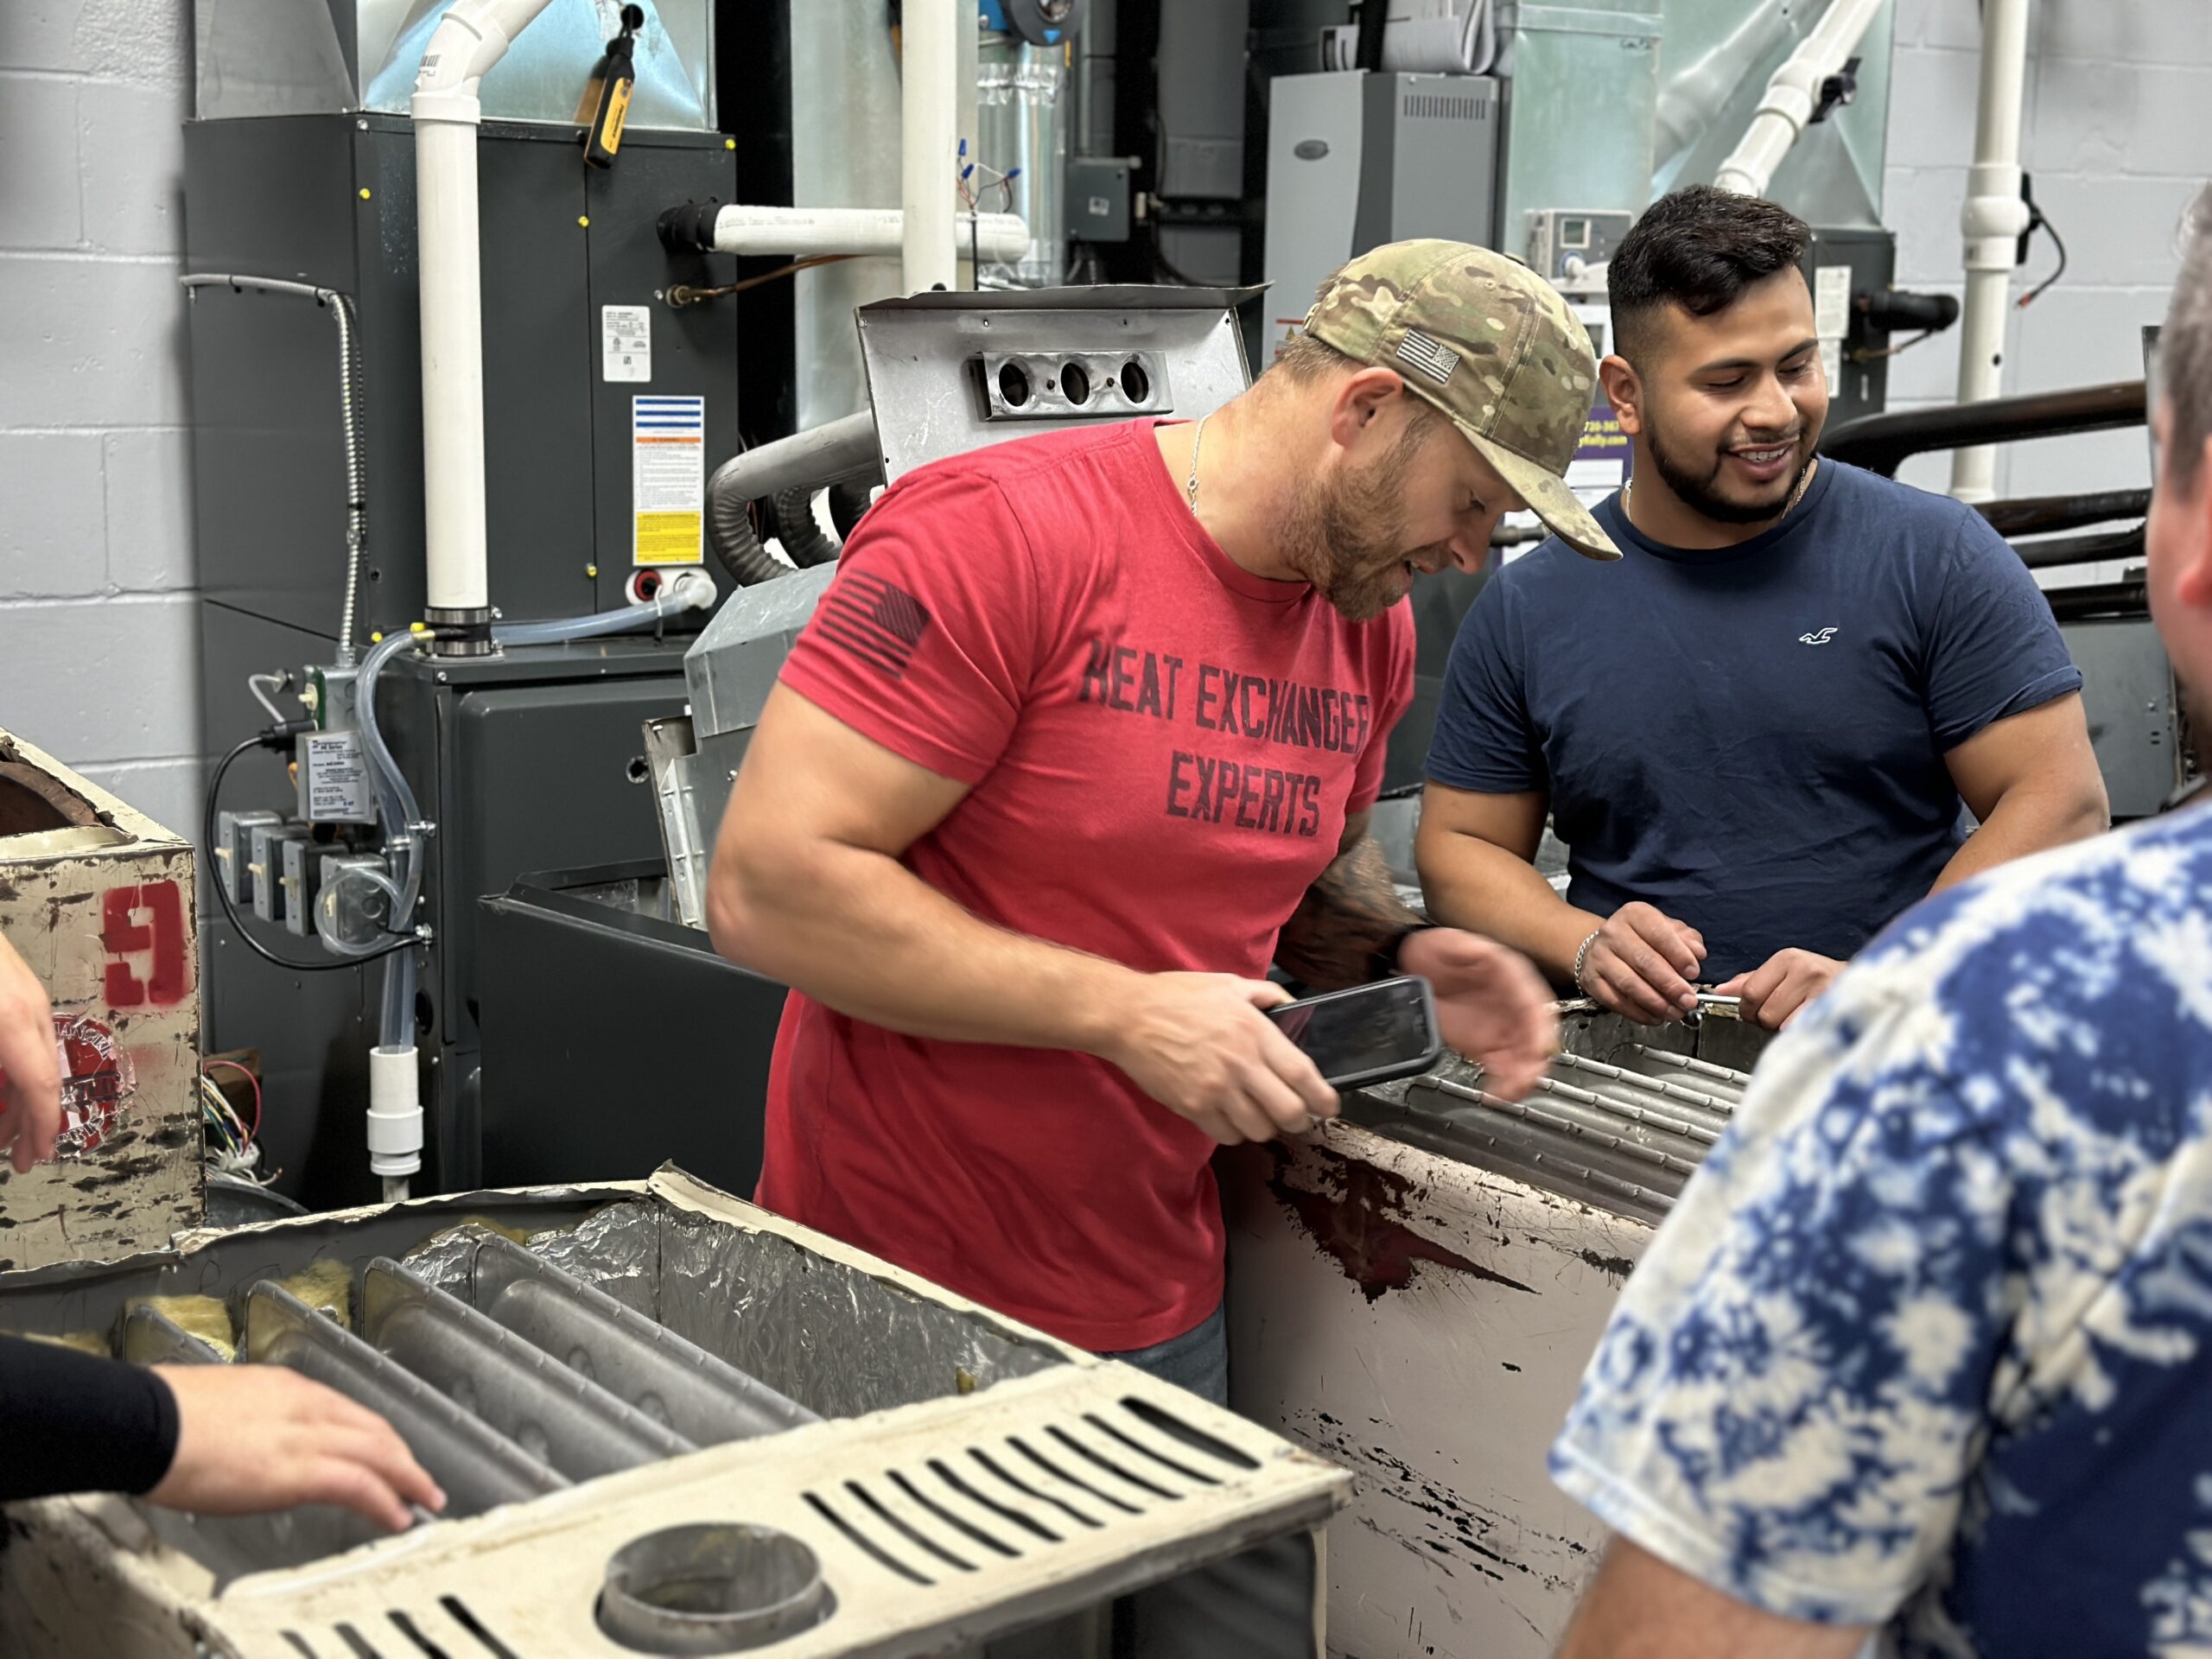
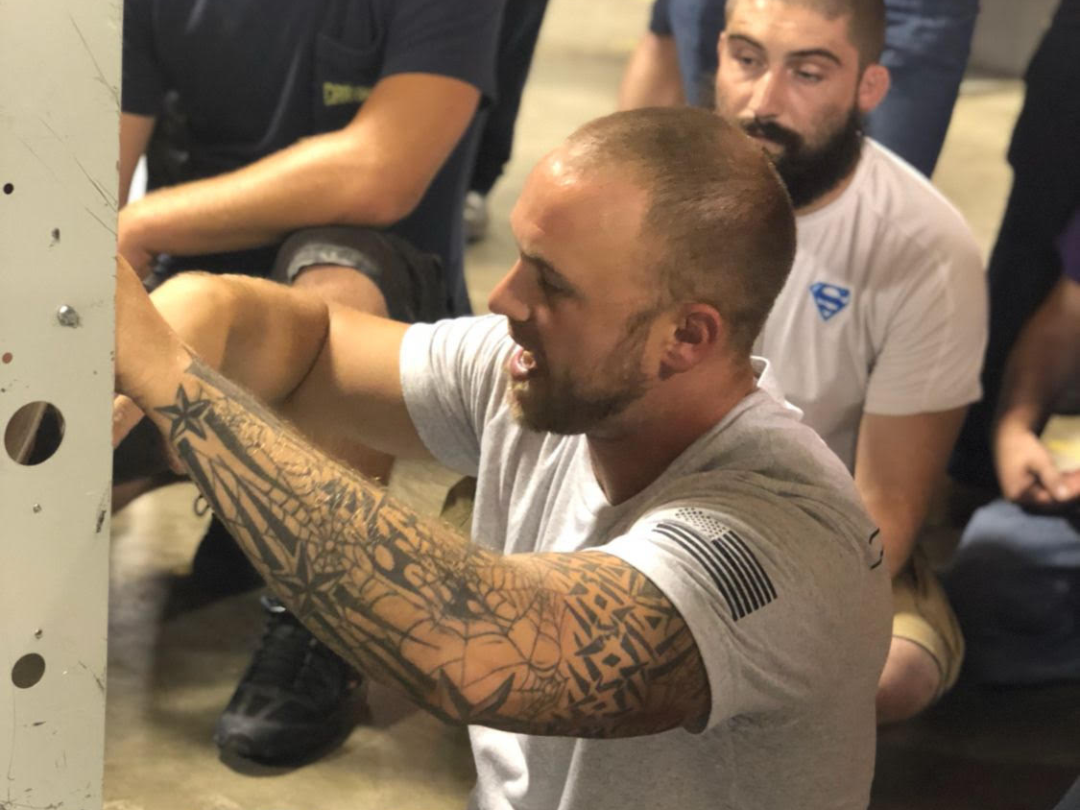
Inspection training that addresses heat exchangers specifically — with real equipment, real failure examples, and a structured methodology built on decades of field experience — compresses that learning curve significantly and fills the gaps that experience-only training leaves behind.
Making the Process Stick Across Your Team
A repeatable inspection process only works if it’s actually used consistently. A few things that help:
Write it down. Not in a long document nobody reads. A one-page field reference that fits in a service van, covering each inspection phase with enough specificity that a technician who learned it once can refresh in sixty seconds before a call.
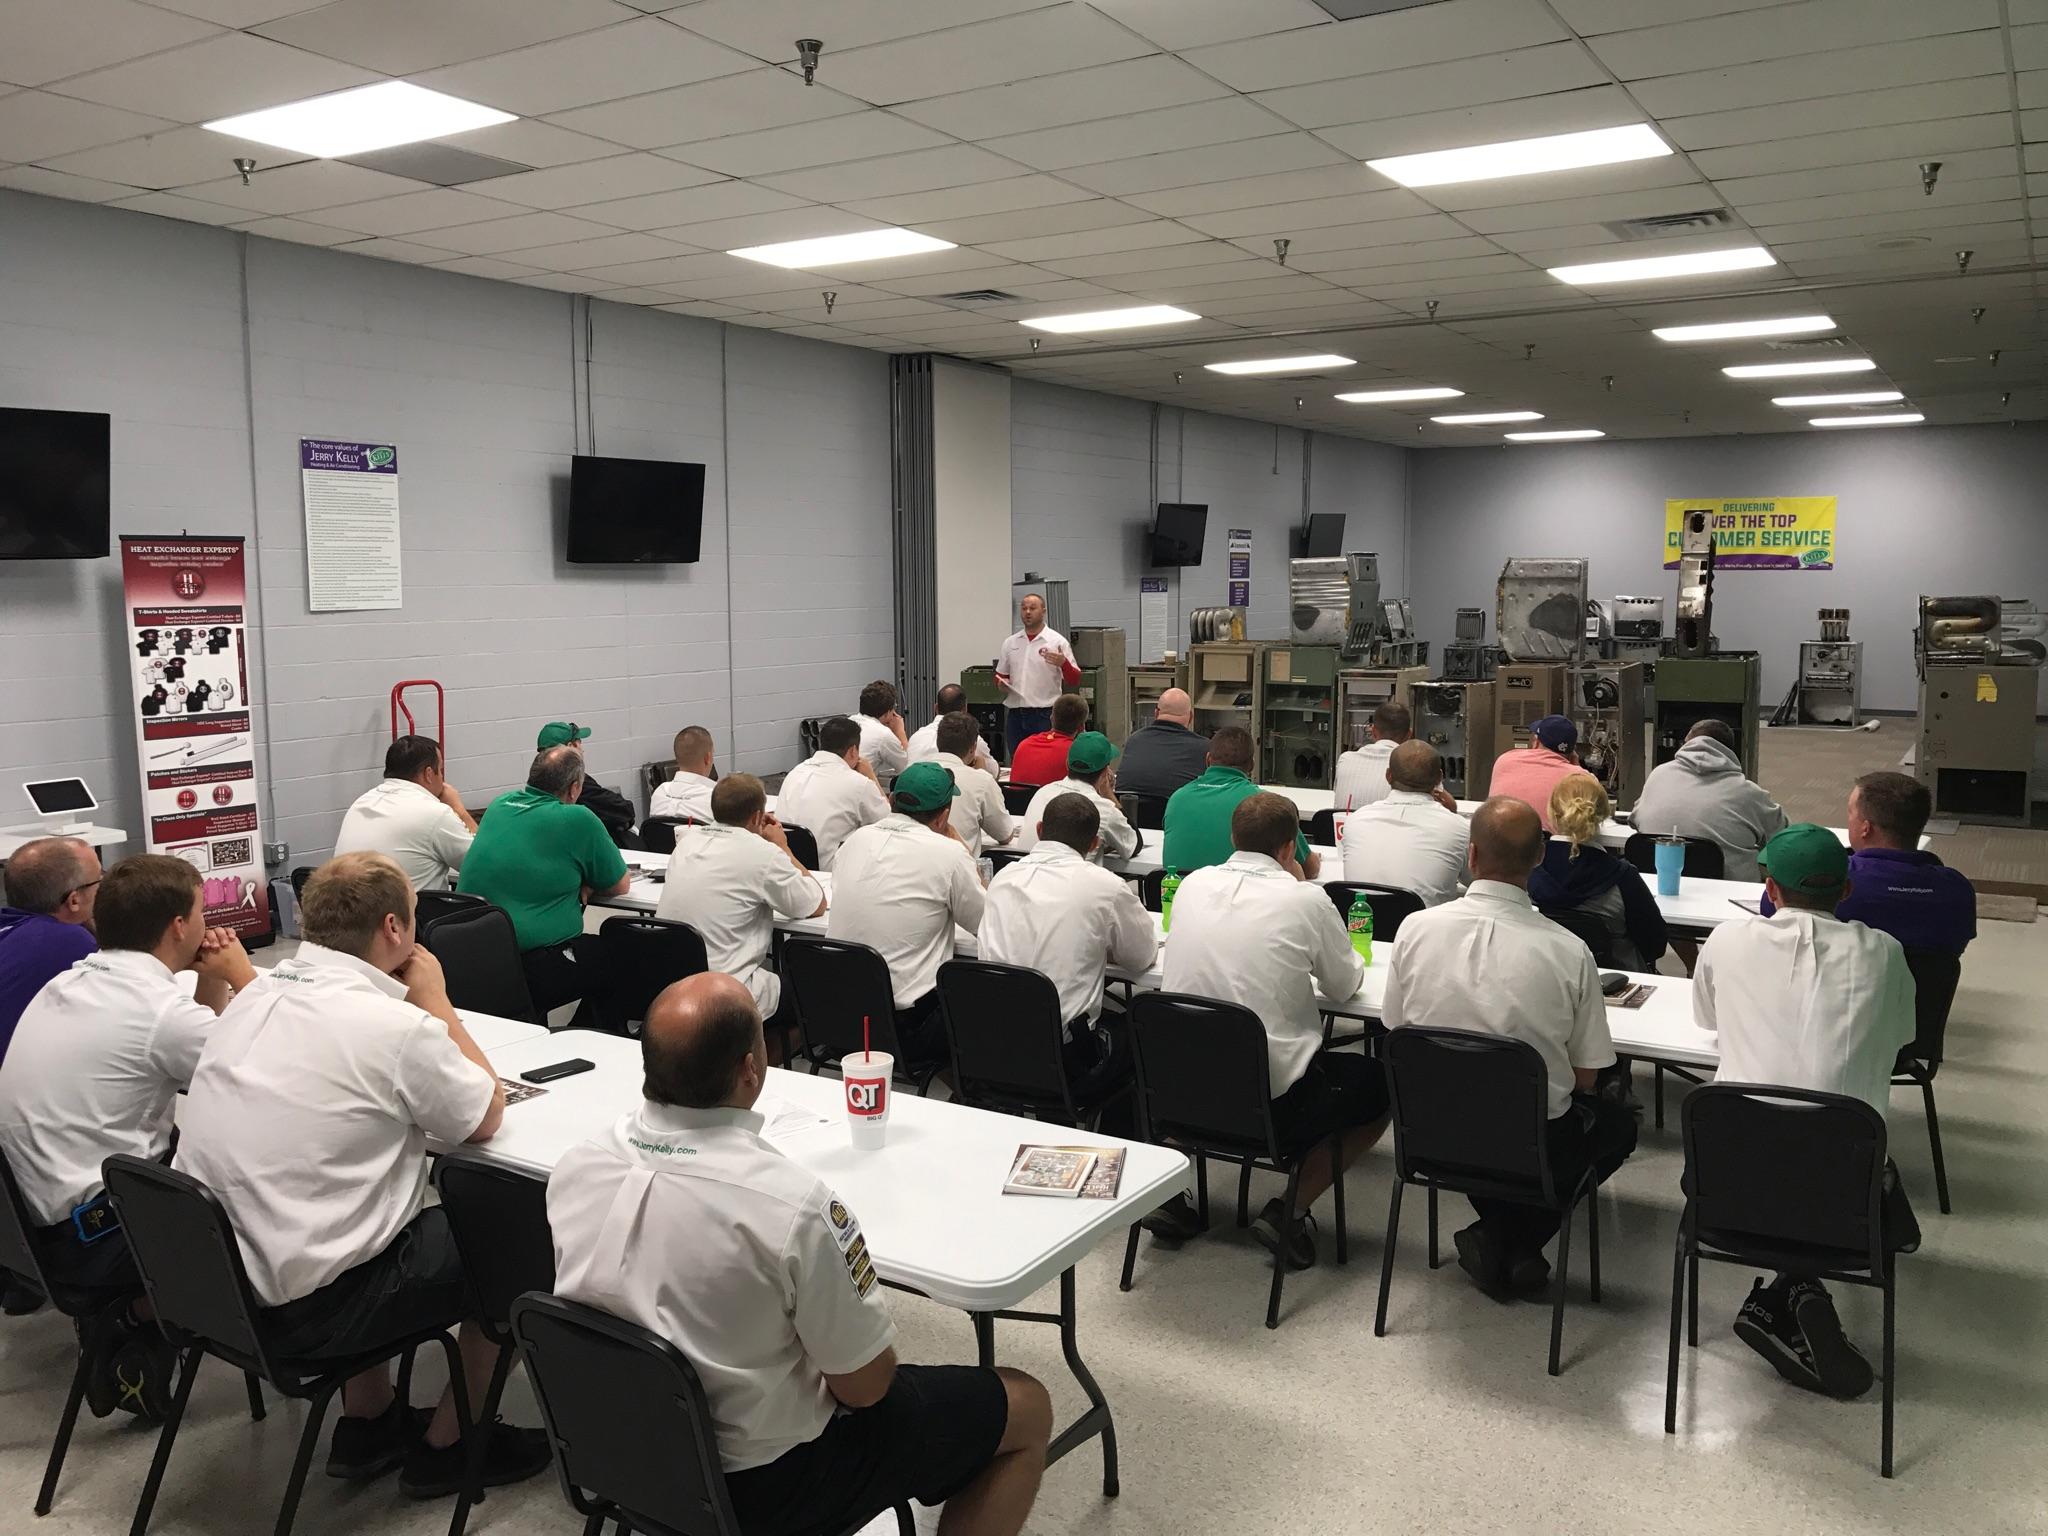
Train to the same standard. If your senior technicians inspect differently than your newer ones, you don’t have a process — you have variance. Team-wide training creates a shared baseline that makes quality control possible.
Document every inspection the same way. The record format matters as much as the inspection itself. Consistent documentation makes patterns visible across jobs and over time, protects you when something is later disputed, and gives homeowners a record they can act on.
Build in a review before the season. Gather the team in September, walk through the process together, and address anything that has changed since last year in equipment, standards, or common failure patterns you’re seeing in the field.
Frequently Asked Questions (FAQs)
A maintenance visit typically covers the system broadly, addressing cleaning, adjustments, and basic performance checks. A documented pre-season inspection process is structured specifically around finding safety problems before they become emergencies under winter load. The heat exchanger evaluation is the clearest example of where the two diverge, because a thorough heat exchanger inspection requires specific methodology and training that general maintenance visits often don’t prioritize.
September is ideal for most HVAC markets. Early enough that any training gaps can be addressed before the season peaks, late enough that pre-season calls are beginning and the team is thinking about furnaces again. Building or reviewing the process in September means everyone goes into the heating season working from the same playbook.
Honestly, if your team hasn’t received formal heat exchanger inspection training, you likely don’t have full visibility into whether their process is complete. The gaps in informal, experience-only inspection knowledge tend to be invisible until something gets missed. Structured training against real equipment with documented methodology is the clearest way to establish and verify a consistent standard.
A checklist is a valuable tool, but it’s only as good as the training behind it. A technician who checks “heat exchanger inspected” without a systematic methodology and familiarity with how different exchangers fail across different configurations isn’t performing a thorough inspection — they’re completing a form. Process and training have to work together.
When a homeowner experiences a problem after an inspection, documentation is what establishes what was and wasn’t found at the time of service. Clear, consistent records of what was inspected, what was observed, and what was communicated to the homeowner are what separate defensible professional practice from situations where liability is genuinely ambiguous.
Ready to Build a Better Inspection Process?
If your team’s furnace inspection methodology is informal, inconsistent, or hasn’t been formally reviewed in a while, this heating season is a good time to change that. The place to start is heat exchanger inspection training that goes beyond a checklist and builds genuine diagnostic skill.
Heat Exchanger Experts runs one-day, hands-on inspection seminars across the country, giving HVAC technicians and business owners direct experience with over 70 real heat exchanger models, structured methodology built from more than 55 years of field expertise, and the kind of training that translates directly to better, safer, more defensible inspections.